Using git for version control
Introduction
To do things more professionally & avoid losing work, its essential to have some kind of a backup system in place.
In this tutorial, we're going to use version control for that purpose. Version control is much more than just a backup however.
Unlike a traditional backup system, a version conotrol system will often let's you name & review your every set of changes as well as some other benefits:
- See Your Progress: Every change is recorded & you can look back at what you did, when, and why.
- Undo Specific Mistakes: Made a mistake a few versions ago? You can specifically undo that change without affecting new code or files!
- Try New Ideas: Create “branches” to test features or fixes that basically require an overhaul without breaking your main project
- Work Together: Collaborate with friends or teammates without overwriting each other’s work.
The most common version control system at this moment is Git which works well
with VSCode, so tha't what we're going to use in this tutorial.
Also to keep this page minimal, we're going to focus on the bare minimum first (e.g.: Saving changes in a named manner & undoing some past changes.)
How does it look Like?
While you work on your project, you'll see the list of added/deleted/modified or untracked files (annotated by A, D, M or U).
How it works is basically as follows. Once you have reached a certain goal with the changes you made, you can do the following:
- Stage your changes
- Manually undo any changes that you think are unnecessary
- Re-run your project
- Check if you made some mistakes in step 2
- Compare your changes with the staged changes
- Name your staged changes
- Commit (e.g. another word for save in Git terms) your staged changes
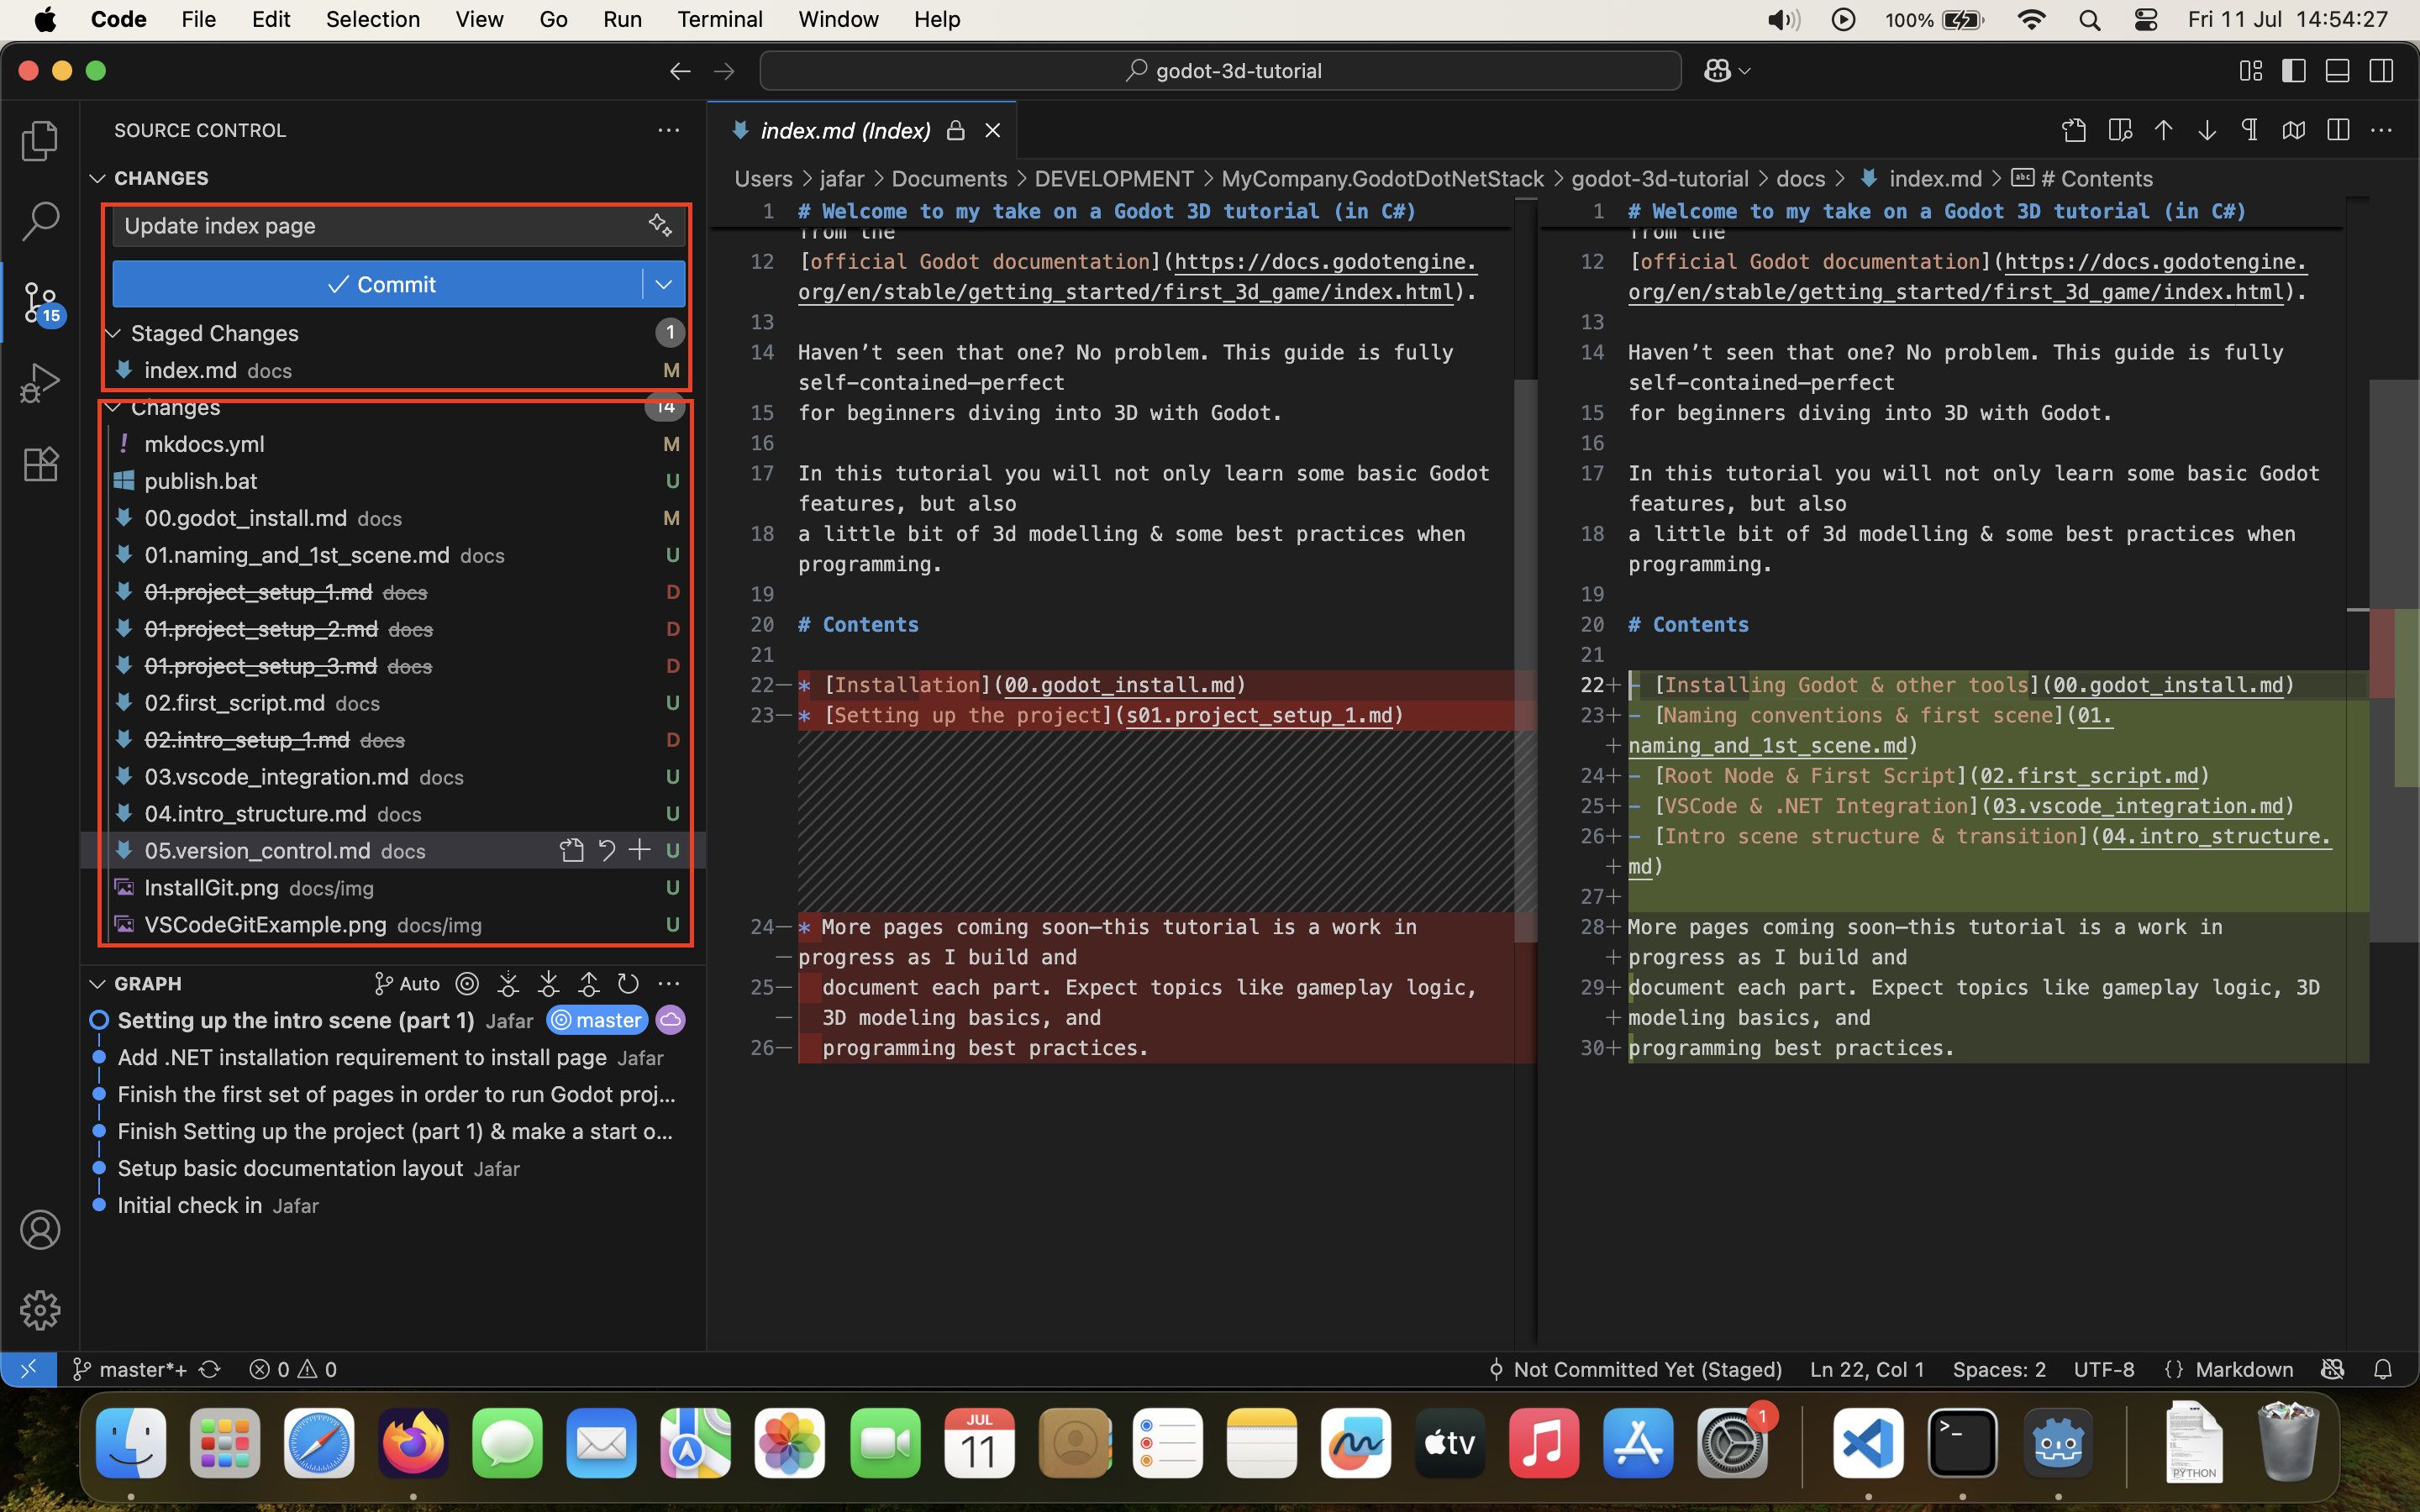
The result is the graph that you see in the side bar of VSCode. If named propely, it will give you a summary of what steps you took to develop your project.
Of course there is a lot more related to Git & version control, but this is not an extensive course in Git, so we'll just discuss things when necessary as we go.
Installing git
To install git head to the git downloads page & follow the installation steps based on your OS.
For windows that would simply be to download the standalone installer for either x64 or ARM64. If you don't know which one to choose, just try both as the wrong installer will tell you its not made for your machine.
For MacOS its not so straightforward as you need to install Homebrew first. According to the documentation at the moment of writing the steps should be:
- Open a terminal
- Enter the following command & press
[ENTER]:
Once Homebrew is installed you can install git similarly through the terminal with the following command:
For Linux if you're on Ubuntu you need to run the following commands in a terminal:
For any other distro, you can either refer to the git download page for linux or look on the forums related to your linux distro online for help.
In most cases however, the above commands should work for most linux distros.
Verifying installation
Once your installation is complete:
- Restart your VSCode
- Click on the icon in the left side bar that is shaped* somewhat like a V
- You will see a button saying something like
Initialize repository:
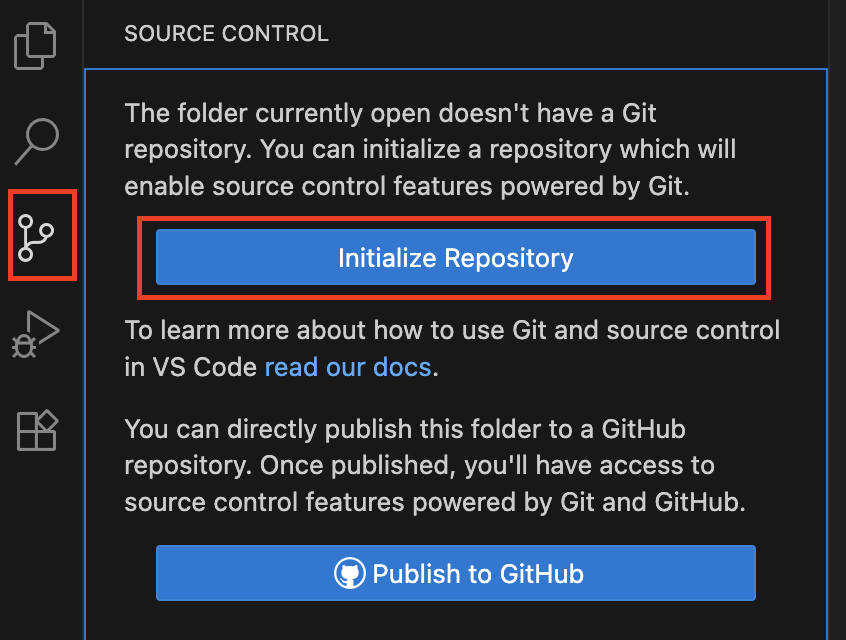
That means git is installed properly & can be used for this project as well as future projects to maintain changes.
In the next page we'll discuss further how to use git with VSCode. For now you can either take a break or continue to the next page to see for yourself how to use git in your project.